Here are the step by step instructions for a SAML Configuration with OKTA and RedLine13. Read more about SAML SSO and RedLine13.
Login to OKTA.
Create a new app integration with SAML 2.0

Set General Settings
– Logo can be downloaded from LOGO
To Retrieve the Metadata document URL from OKTA you will need to create SAML integration with some temporary data.
- SingleSignOn URL – anything – (https://www.redline13.com/SSO/YOUR_DOMAIN)
- Audience URL(SP Entity ID) – any string (will_change_after_setup)
- Name ID Format – EmailAddress
- In Attribute Statements add two attributes
- givenname – Type Basic, user.firstName
- surname – Type Basic, user.lastName
- Hit Next

Complete Feedback for Internal app with Vendor
You should now land on the SAML settings page, copy the link address for Identity Provider Metadata
- You can either copy link address
- Or Download Identity Provider Metadata file

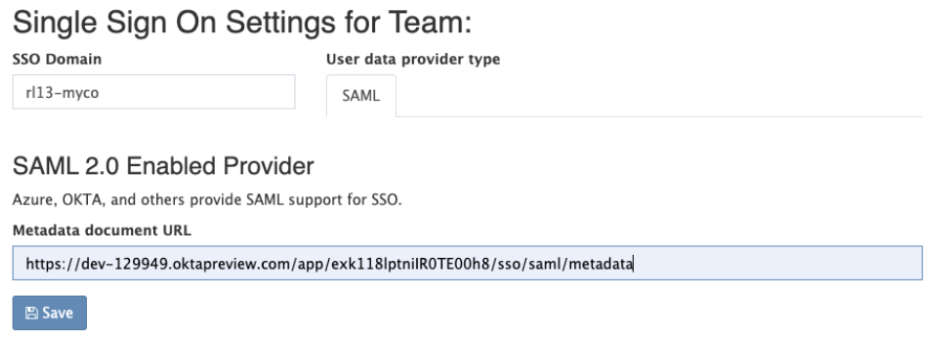
Now we can switch from OKTA back to RedLine 13 and set up our SSO-SAML Connection
- http://localhost/SSO/Manage [https://www.redline13.com/SSO/Manage]
- Select SAML
- Paste MetaData URL we copied from above
- If you downloaded file you can you use ‘Upload Metadata File’
- Enter a domain name
- Recommendation – rl13-[yourcompany]
- If your account does not have a team you will need to enter a name for a team.
Hit SAVE
And if everything worked out

We now have to go back to our SAML provider (OKTA) and update a few fields to connect RedLine13 to your SAML SSO. Go back to OKTA, find where you set up RedLine13. In section general, to the right of SAML settings click ‘Edit’

Navigate to ‘Configure SAML’ either directly (if possible) or hitting ‘Next’
- From Redline Copy “Reply URL (Assertion Consumer Service URL):” to “Single sign on URL” on OKTA.
- From RedLine13 copy “Identifier (Entity ID)” to “Audience URI (SP Entity ID)” on OKTA.
- On the OKTA screen scroll down and click Next (or Save). Make sure to hit Finish if using the OKTA wizard setup.


Now you can assign users and have them attempt to login.