Your Test Plans can be executed directly from Jenkins. Here are the details for setting up Jenkins-Redline13 integration.
1. Download Jenkins Plugin
- API Key : https://www.redline13.com/Account/apikey
- Jenkins Plugin : https://www.redline13.com/redline-jenkins-plugin.hpi
2. Install Jenkins Plugin from Admin UI
- Manage Jenkins
- Manage Plugins
- Tab : Advanced
- Upload Plugin
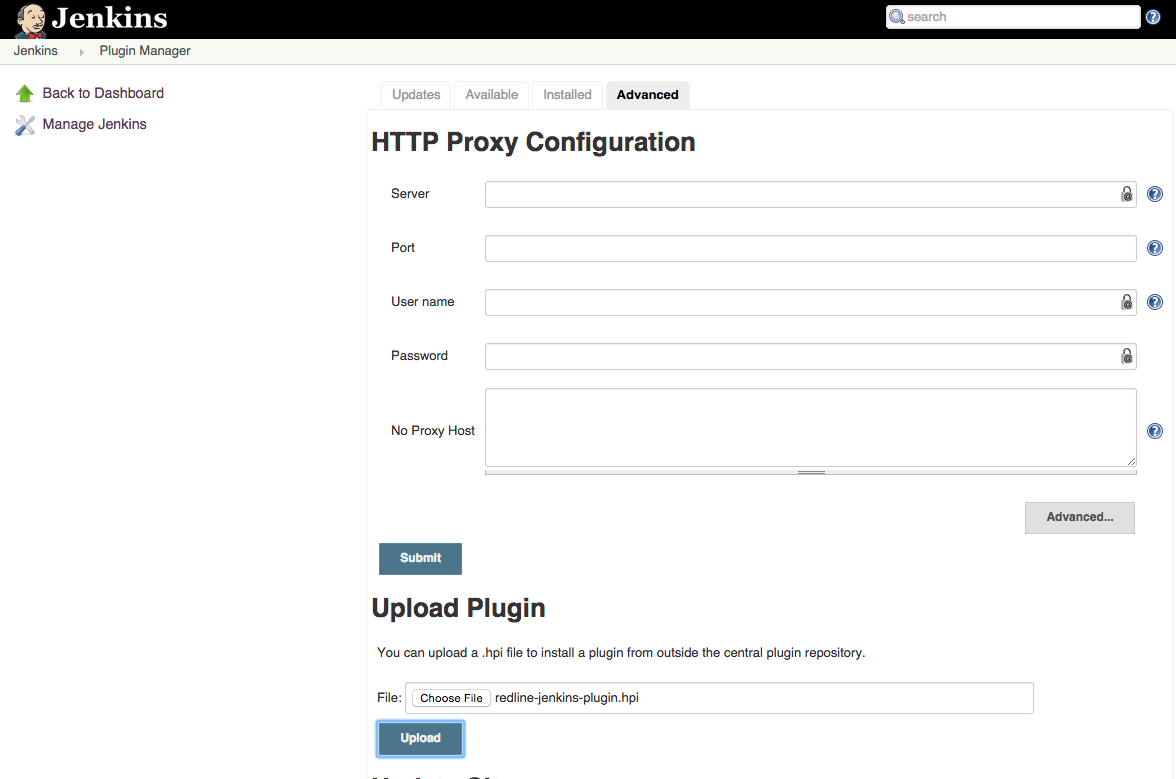
- Plugin Installed Successfully
3. Jenkins Configuration
- Manage Jenkins
- Configure System
- Find Redline13 portion of Configuration
- Click ‘Add Some’

- Select Redline13 API Key

- Enter your API Key
- Click ‘Test Redline13 User Key’
- You should see ‘Your API Key is Good’, press ‘Save’

5. Preparing Load Test Plan on Redline13.com
- On redline13 build a test plan
- Execute a successful run of your load test plan
- Any succesful test will have a button ‘Save For Jenkins’
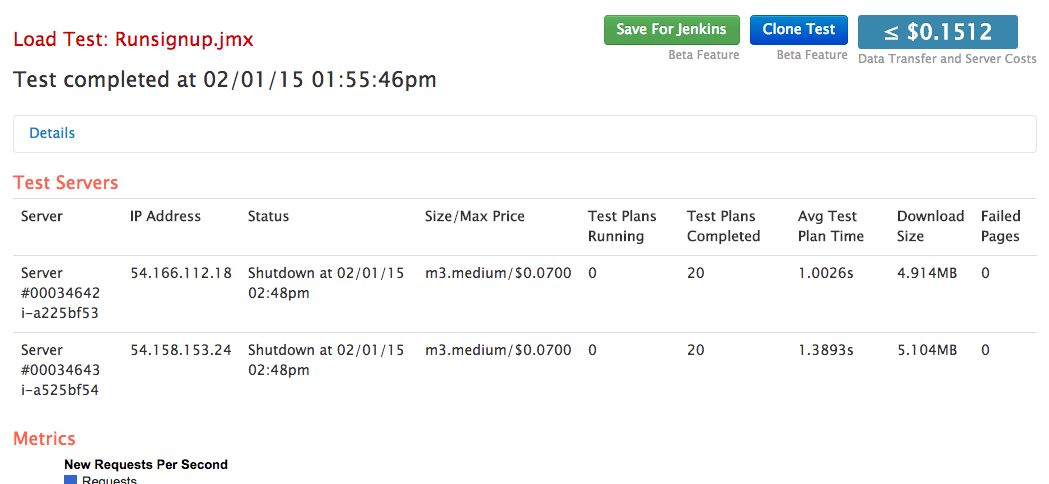
- This will reload the test, confirm it is correct, press ‘Save For Jenkins’ one last time

- Now in your test view this new Test Plan will be blue and represents a Jenkins template.

6. Creating Jenkins Job to run your Load Test Plan
- Create Job
- Freestyle Test
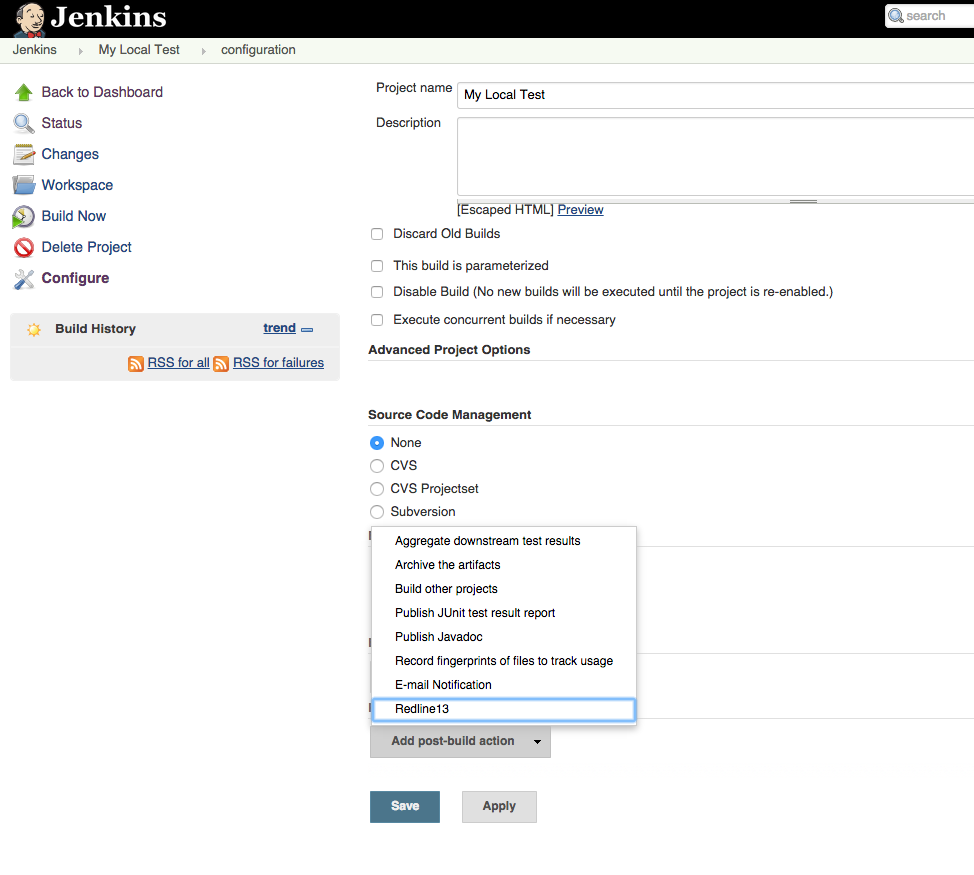
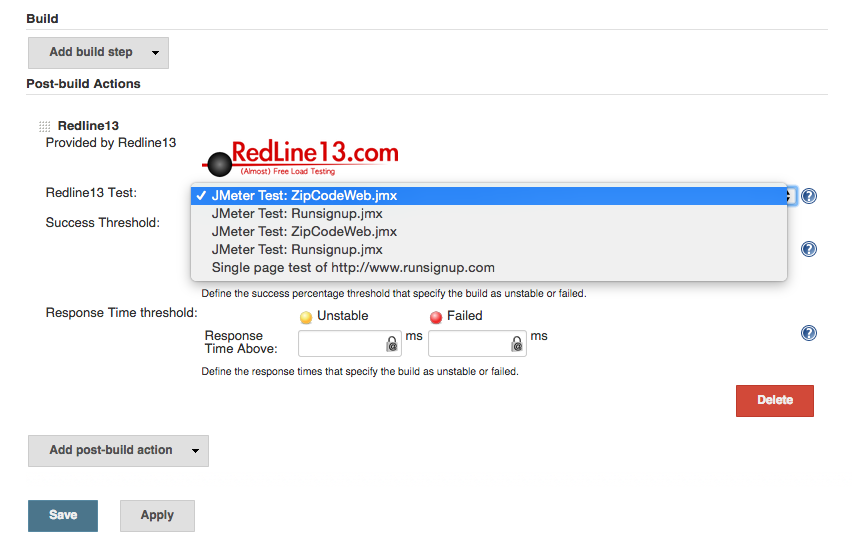
- Add Post-Build Action ‘Redline13’
- Select your Load Test Plan
- Save your Job
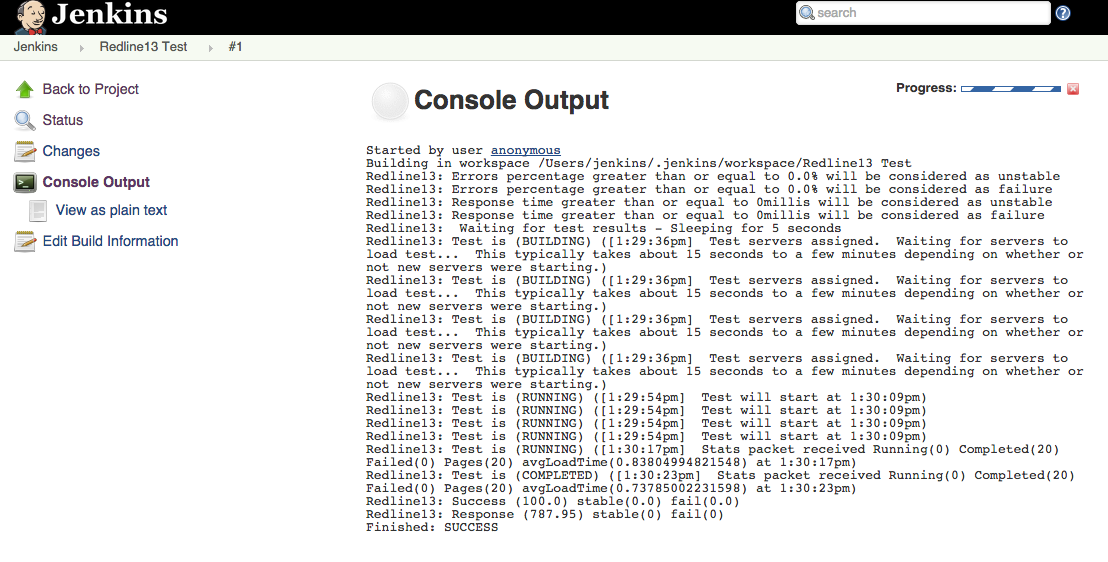
- ‘Build Now’ for your Job
- Watch the console output, you can see if there are errors or if the job executes appropriately
- Once the job is done, on the left side there will be a ‘Redline13 Report’, Select this to see the results.
- The results are also available under your account on redline13.com