In this blog post, we will talk about Load Testing in a Continuous Integration Environment and how to effectively integrate with cloud systems using RedLine13. The crucial point of the this blog post is that we are preparing our load test script just using Selenium code. Before we begin our example, let’s briefly talk about the technologies used in Continuous Integration (CI) processes in our post.
Jenkins is an open source automation server and an integration tool developed with Java. It is able to help automate parts of the software development process. Jenkins allows developers to quickly find, solve, and automate testing flaws in code.
Selenium is a open source test automation framework. It is the most widely used and most popular test automation framework in the industry.
RedLine13 provides a plugin so you can easily integrate your load test scripts with your Continuous Integration / Continuous Development (CI/CD) process flow. You can easily set up the plugin on your Jenkins server following our previous post.
Steps for Load Testing in a Continuous Integration Environment
First we will write a Selenium script. Later we will run this script on the cloud using RedLine13. And finally we will create a Jenkins job and run your load test script on your local CI/CD server.
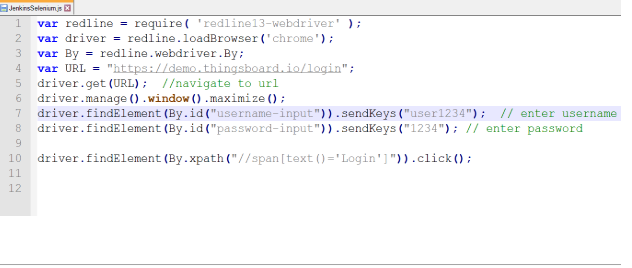
Let’s start by preparing the simple login Selenium script using RedLine13 library. As you see below, if you’re familiar with Selenium, that means you can easily prepare the load test script and execute it in the cloud.
After completing the script, it is good practice to verify whether the script works or not. The easy way is to run it locally with the following command:
“node JenkinsSelenium.js”
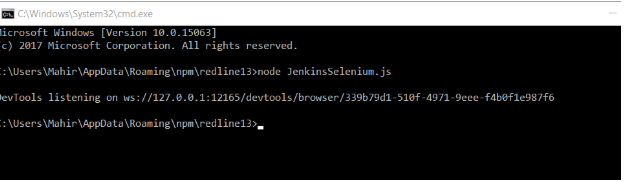
After verifying that the script works, we are ready to execute the test on the cloud via RedLine13.
Click on the “Start Testing” button and for the Test Type choose “Custom Test”.

Upload your Selenium script which we prepared above.

Later, choose the AWS Load Agents to execute your script in the cloud.
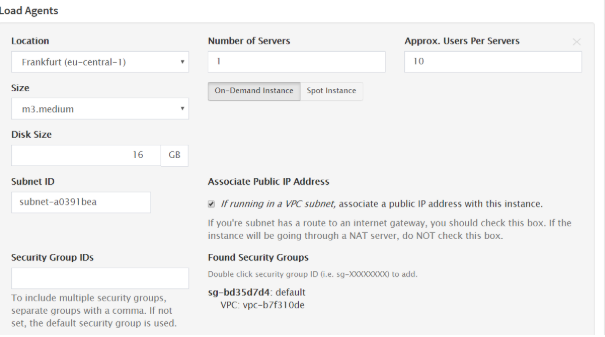
To execute the Selenium tests on RedLine13, configure your test plan as below:
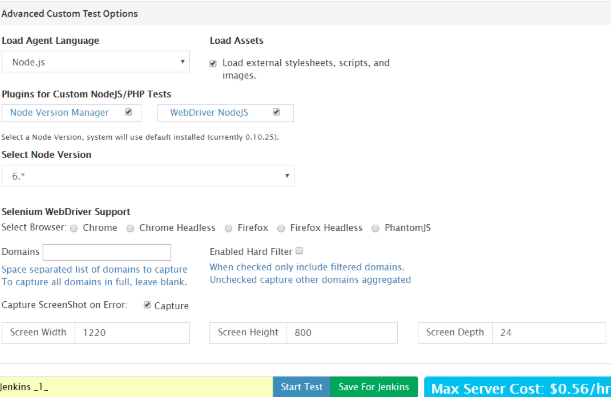
After the completing the configuration, you are ready to start the test. Click on the “Start Test” button.
After the successfully completing the script, there will be a button “Save For Jenkins”
In your test view, this new Test Plan will be blue and represents a Jenkins template.

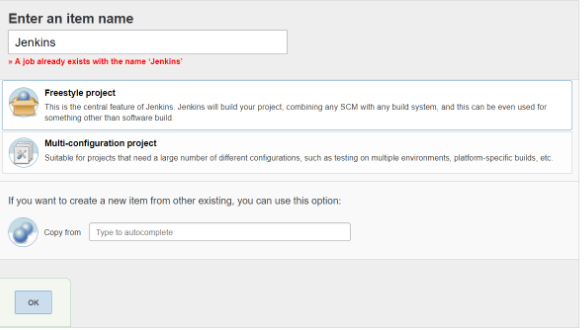
Now we have created the Jenkins Job. Give it a name and save.
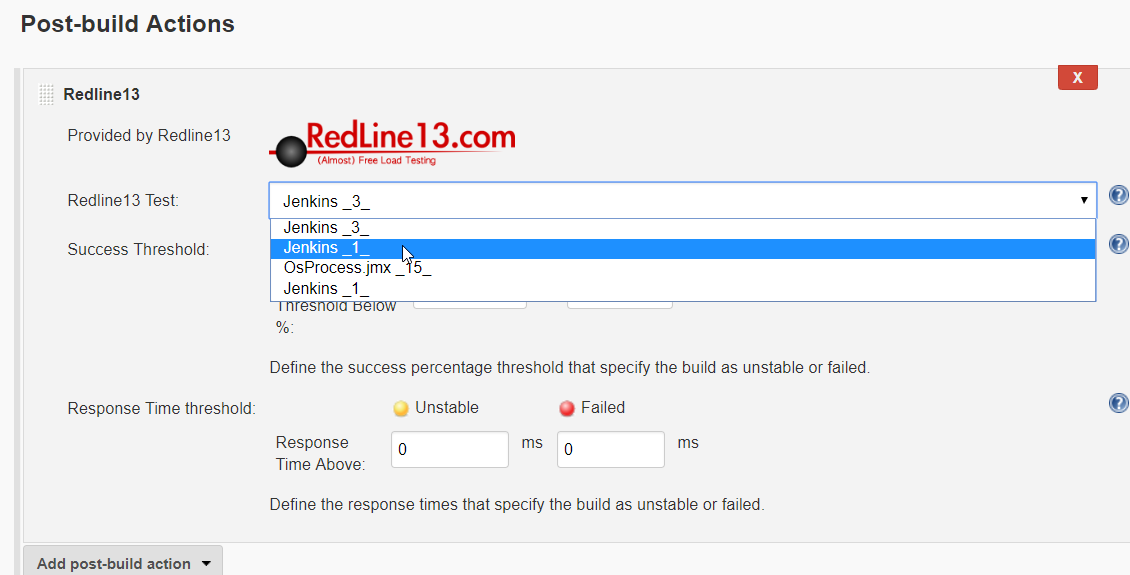
Next step is to “Add Post-Build Action ‘RedLine13″ button. As you see below, on our Jenkins Server we can see our previous RedLine13 scripts.
We select the script on the dropdown list.
Save your job and click on “Build Now” to start the job.
Watch the console output and you can see that our load test succeeded! We have done Load Testing in a Continuous Integration Environment.
