When creating your test plans in k6, it is a common practice to write the script with a bottom-up approach. In other words, each request is explicitly coded in sequence with a series of http request methods wrapped in flow control. While this method provides the ultimate means of control, tests can also be built using the k6 Browser Recorder. With this alternative, a browser plugin allows you to record a series of interactions with a page. These interactions can then be directly converted to a k6 test script. In this post, we will show you how to get started with the k6 Browser Recorder to automate the creation of a k6 test.
Installing and Using the Browser Plugin
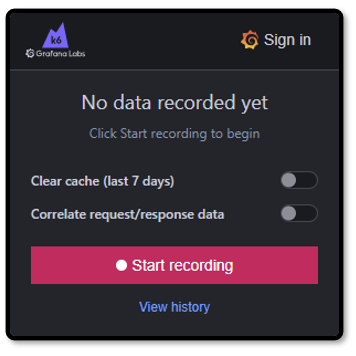
The official k6 Browser Recorder is provided by Grafana Labs, and can be added to Chrome or Firefox as an extension. This utility allows you to record browser interactions with any website. To begin a new session with the k6 Browser Recorder, simply click “Start recording” on from the plugin menu:
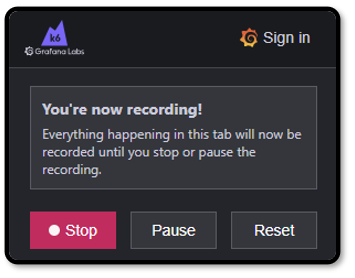
Once you are finished recording, simply click the “Stop” button. The recorded session will automatically be downloaded to your computer. If you are signed in to your Grafana Labs account, recordings can also be saved to the cloud.
Preparing your Test Script
The recorded script can be downloaded as a .har file, which is a JSON representation of the interactive browser session. Per the official k6 documentation, you will need to use the har-to-k6 converter to convert this file into a k6 test script. This requires the npm JavaScript package manager to install and use on your local machine:
npm install --save har-to-k6
To convert your saved .har file, use the following command:
npx har-to-k6 your_recorded_session.har -o your_k6_script.js
Replace “your_recorded_session.har” with the file downloaded by the k6 Browser Recorder, and replace “your_k6_script.js” with a name of your choosing.
Running your Recorded Test
Once you have converted the downloaded .har file into a k6 test script, you can use k6 to run the script as-is, or open it for further modification. If you want to debug your test locally, please see our guide on running k6 tests on your local machine. Running your k6 test on RedLine13 is easy, and we have a quick start guide in our documentation which outlines all the steps and the most common test options.
Did you know that RedLine13 offers a full-featured, time-limited free trial? Sign up now, and move you k6 testing into the cloud today!