
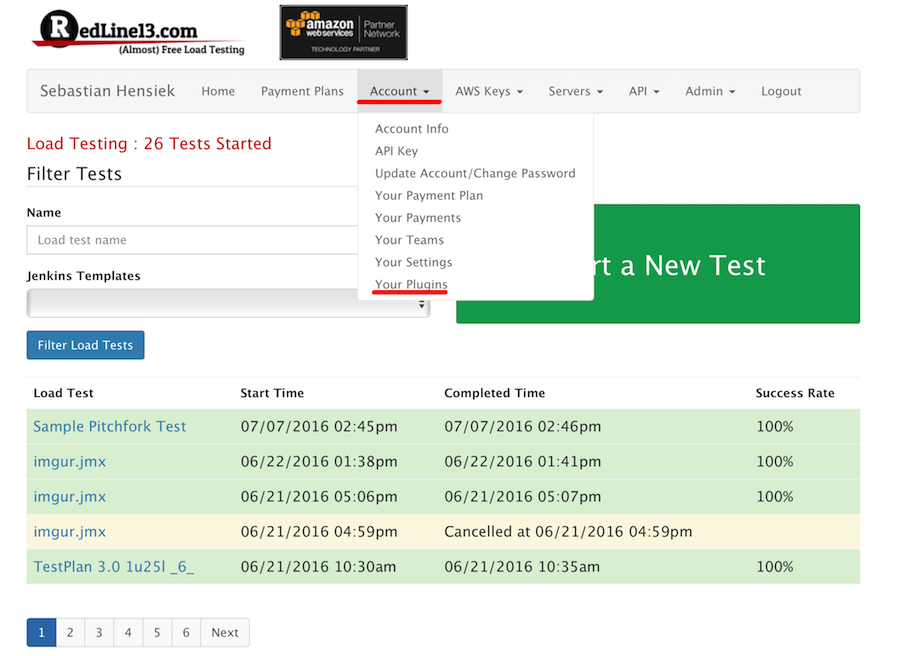
Installing and using RedLine13 load testing plugins is a fairly easy and straightforward process that we will go over in this post. After you have already signed up and created a RedLine13 account, simply log in to get started. Once you have logged in, click the “Account” tab and then “Your Plugins”.
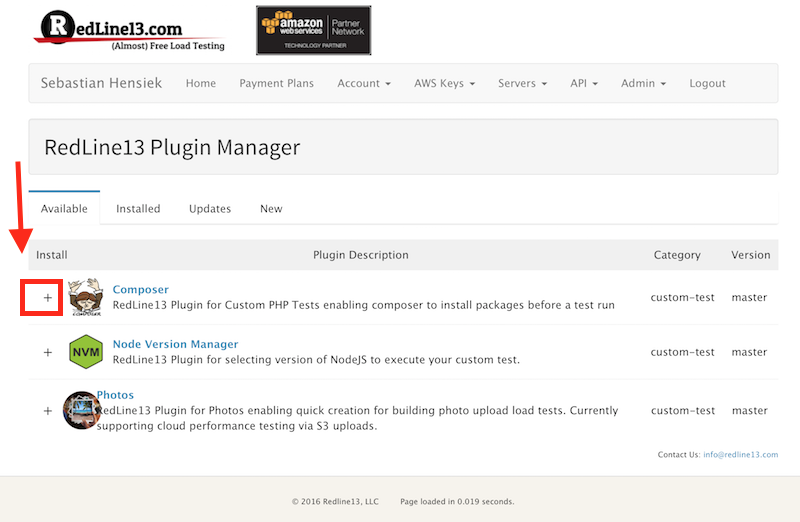
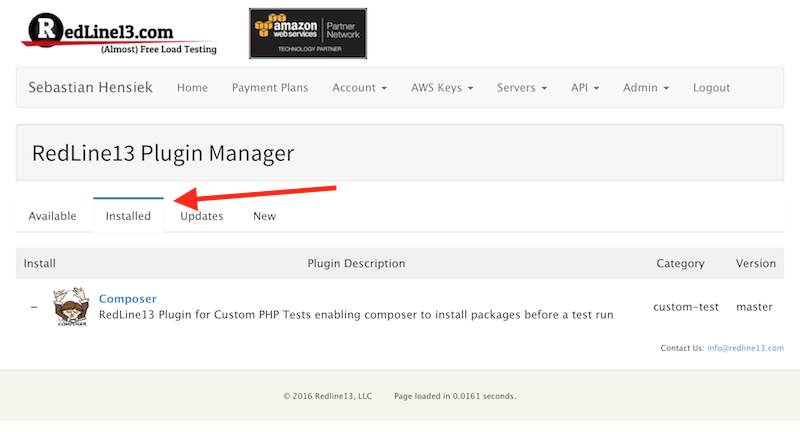
We will then find ourselves at the Plugin Manager page. Here we can create and manage our various load testing plugins. To install a plugin, simply click the “+” button next to the respective plugin. You can verify that the plugin was installed by visiting the “Installed” tab.
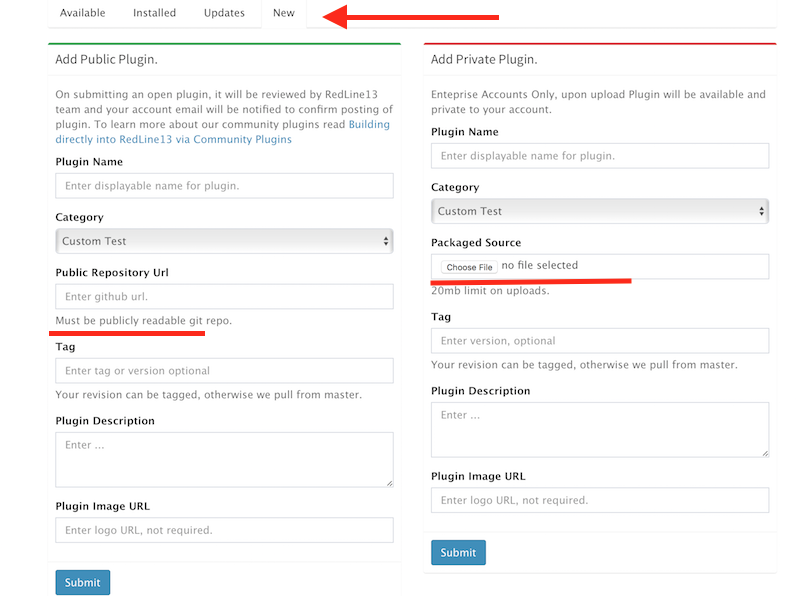
Users also have the ability to create either public or private plugins for their own purposes. Simply navigate to the “New” tab to create your own plugin. Fill out the respective parameters, and then either upload your own plugin source or a public repository URL.
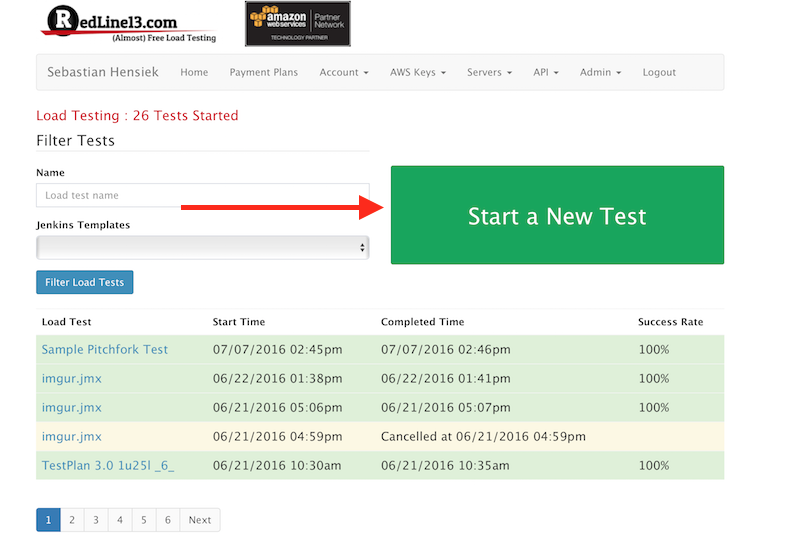
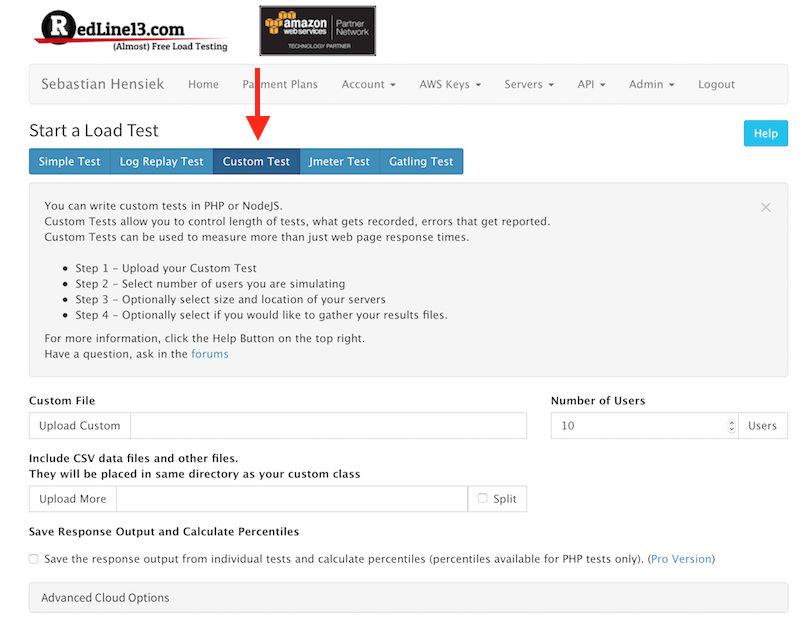
Once we are satisfied with our installed plugins, we can then begin to use them. Start by going back to your testing homepage and start a new, custom load test.
We will then scroll down and navigate to the “Advanced Custom Test Options” tab. Once we have opened that tab, we should then see our newly installed plugin(s). To use the plugin in your load test, simply check the small box next to the respective plugin.
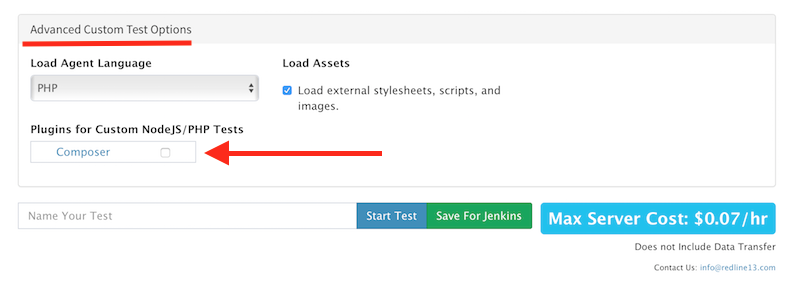
After you have completed these steps, your plugin should successfully be installed and activated, and you can now click “Start Test” to run your load test with the respective plugin(s). We wanted to offer our users the ability to craft and use custom load testing plugins as a means to improve the overall testing experience, and we believe there is a lot of potential with custom RedLine13 load testing plugins. To read more about the launch of the plugins or the plugins themselves, please refer to our original announcement post.