A common approach to load testing often involves running a series of load tests to ascertain the performance of a target test application. The question that is sometimes asked is how to compare JMeter test results from two or more runs of a similar JMeter test on the same graph. In this article we will show you how to compare the results of two separate load tests using the Merge Results plugin.
In a previous post we reviewed some of the most popular JMeter plugins. On that list was one called the Merge Results plugin. This element differs from most other types of test plan elements in that it is not intended to run as part of a test in itself. Rather, it is a tool to be used locally that accepts the JTL results from one or more previously executed tests. It then performs a merge operation on those results into a single combined JTL file.
Configuring the Merge Results Plugin
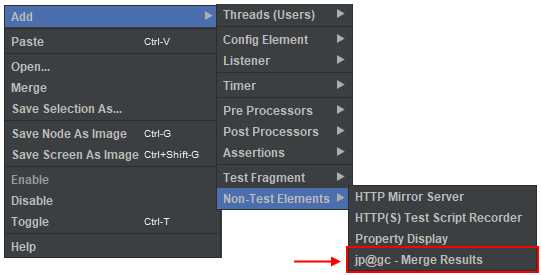
We can think of the Merge Results plugin as a stand-alone utility, however we must be inside JMeter in order to use it. It must be added to a test plan, however there is no requirement that it be part of your load test, or even for the test plan to be saved. Once it has been installed from the Plugins Manager, right click the root test plan element to add a new component. Select from the “Non-Test Elements” submenu, and you will find the option for the Merge Results plugin.
The most essential task to using the Merge Results plugin is to reference your JTL files from previous JMeter test runs. If you have previous test runs using RedLine13, you can access these by enabling output files. Under the “Merge Options” heading, you can add multiple rows with each one referencing the results file from a separate test under the “Input File Name” column:
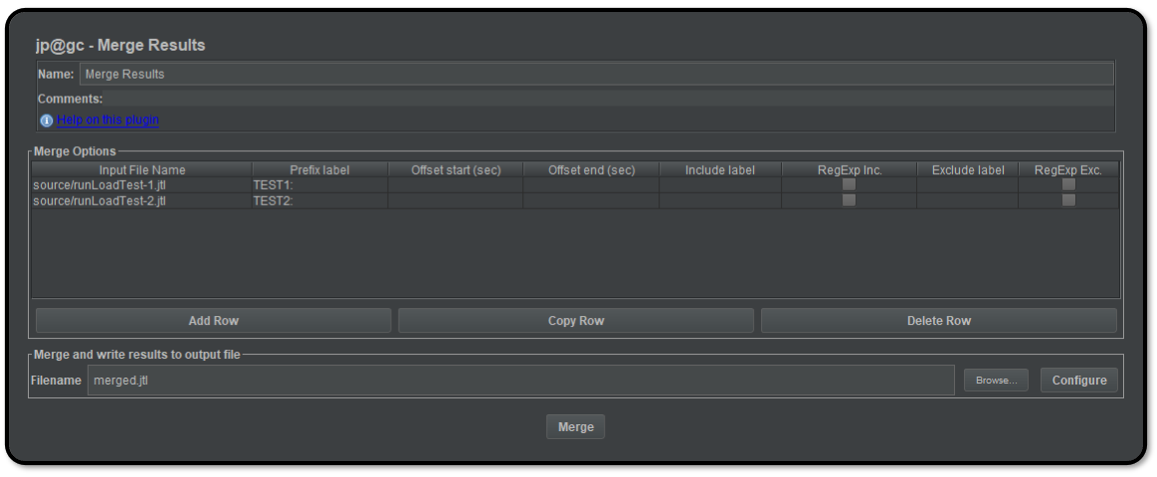
It is also very useful to specify a unique “Prefix Label” for each row, as this will allow you to distinguish or separately graph load test results grouped by test run. In this example we used TEST 1 and TEST 2 which will be reflected in the merged results.
The last textbox at the bottom of the Merge Results configuration is where you specify the filename of the merged JTL file that will be created as part of the merge process. This is a location that you select. The “Configure” button to the right will give you advanced options as to what columns are to be exported within the merged JTL file.
Visualizing Merged Results
Once you have specified all of your input files, click on the “Merge” button to generate the merged JTL output. The default format for this output is CSV, though XML is a configurable option. If exported in CSV format, you may directly open the JTL file in a spreadsheet application such as Excel to make graphs or conduct derivative analysis.
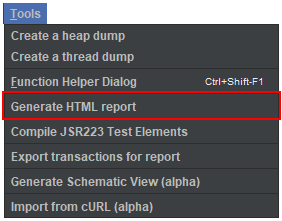
A more classical option is to generate the JMeter Dashboard Report on this merged JTL file. This feature is built into the JMeter user interface, and can be accessed from the “Tools” menu:
This will display a dialog which has several required fields. The “Results File” textbox is where you can specify the path to your newly generated merged JTL file. As shown, this will accept a file either in JTL or CSV format:
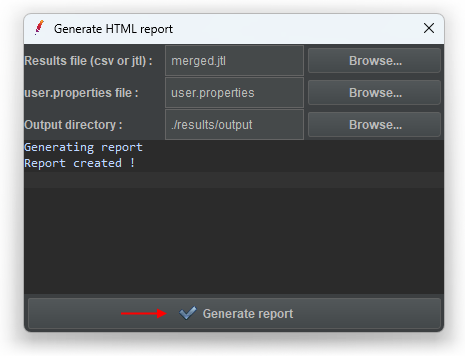
Also required is a user.properties file, though the relevance of this may not be important to your results and therefore a file with default values is often suitable. The “Output Directory” field is where you can specify a destination folder for your generated JMeter Dashboard Report. This folder must be empty of all contents in order to proceed. Once these options are set, click on the “Generate Report” button to create your HTML dashboard report.
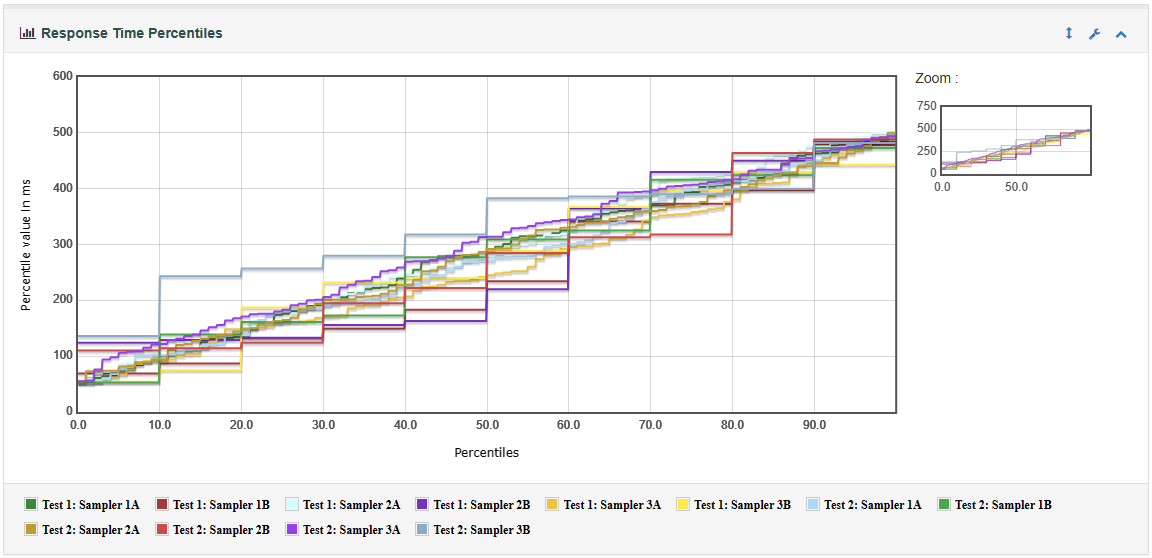
Once the JMeter Dashboard Report is generated, you can open the index.html file from the output directory you have entered above. Under the “Charts” heading, you will find all the usual tables, charts, and graphs within this report that contain and compare the results from your multiple specified load tests. Here is an example of a Response Time Percentiles graph showing combined results form both of our specified example tests:
The capability to compare JMeter test results extends beyond just the ability to compare two side-by-side. You may enter as many input JTL files as you have available to create even more sophisticated comparisons. You can also perform advanced statistical analyses beyond the JMeter Dashboard Report by using the CSV format and a spreadsheet application.
Did you know that RedLine13 offers a full-featured, time-limited free trial? Sign up now, and start testing today!